Steps To Removing Your Pool Cover.
This is something you can do (with a helping hand from family or friends) and save a lot of money in the process. It’s a step-by-step project, and though quite straightforward, is not always fun.
Note there are 3 types of pools covers in use: Tarps, Water Bag Covers and Safety Covers which are becoming more the norm. If you have a safety cover then much of the first few items below will not be applicable, as you will have an easier start. Of course, if you have a retractable cover its easier still.
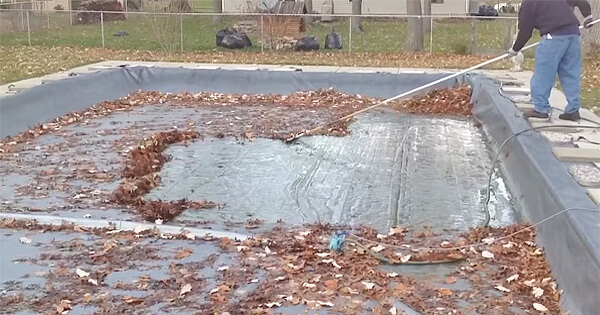
- Remove (scoop, broom) all lose floating leaves and vegetation off the pool cover.
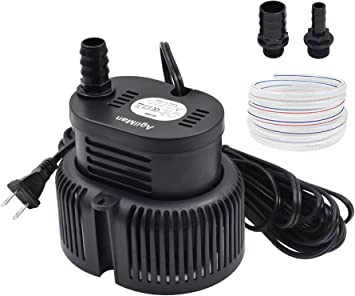
- Pump (submersible) the standing water off the cover, being careful not to let to get clogged with those leave you left in the middle. Connect the submersible pump with a garden hose to a drain.
- As there may be a quite a lot of water in the center of the pool cover, it can take a day or 2 to get much of it off, work on about 1 ins per hour at the deepest point. But leave enough water remaining (3 – 6 ins) so the pump is not clogged up with the sunken leaves etc.
- Armed with a cheap deep leaf net, you now remove all of the leaves on the cover.
- Once you have done you best, drill a heap of ¼ ins holes in the sides of a 5-gal bucket to act as sieve, once you place the pump inside and turn on again.
- Continue scooping the leaves off your cover while pumping away. Soon enough you will start into the sludge on the pool cover. This will become difficult to remove as muddy wet and difficult to remove from the leaf net. So, with some large trash bags (with a few holes in the bottom) sitting in a large container also with drain holes in the bottom, fill these bags with the leaf sludge. Eventually they will drain out and the bags can be disposed of (or put contents on your garden)
- Ready to remove the cover? Not yet as if you do with all the remaining leaves and water, will end up on the floor of your pool. Meaning another big cleanup.
- So place the submersible pump near one end and then from the other end, use a hose and some detergent, coupled with a (telescopic) broom to remove the dirt, sludge and slime. And make sure you are pulling (not pushing) all the material towards the pump. As you work the water will clear and the process will be successful. You can use just water once the surface is clean enough, not spotless. After a few repeats, it will run clear.
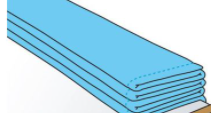
- Now you are ready roll up the cover, having removed all dirt and (99%) of the water and then the pump. Start at the other end (from where the pump was) and drag the cover past the end of the pool and fan fold * the cover, on the perimeter are outside the pool. You will need 2 people to do this.
- For the last section lift out manually so as to prevent any remaing in resiudes dropping into the pool.
- Once rolled up like a sleeping bag, stand on ends (like an inverted U) so as the water runs out and it dries. After a few days its ready for storage out of the weather till next fall.
- When its time to winterize your pool, then you just unroll in the reverse manner, and it will be much easier to set up.
*Fan fold creates an accordion style folded cover rather than the fold in half and then fold in half again etc.